DESIGN
Vol.54

Designer
Y.T.
Create 3D Printer Data with Photoshop CC!


Create the 3D Data First
In this tutorial, we’ll create a small BOEL logo accessory.
First, create a new artboard in Photoshop.

Support bars have been added between the letters of the logo to improve stability and prevent parts from shifting during 3D printing.
The logo data itself was placed as a smart object from Illustrator, while the support bars were added directly in Photoshop.
At this stage, merge the layers into a single object.
(If you do not merge them, the background may also become part of the 3D object.)

Next, change the workspace in the upper-right corner to “3D.”
(You can also change it from Window > Workspace.)
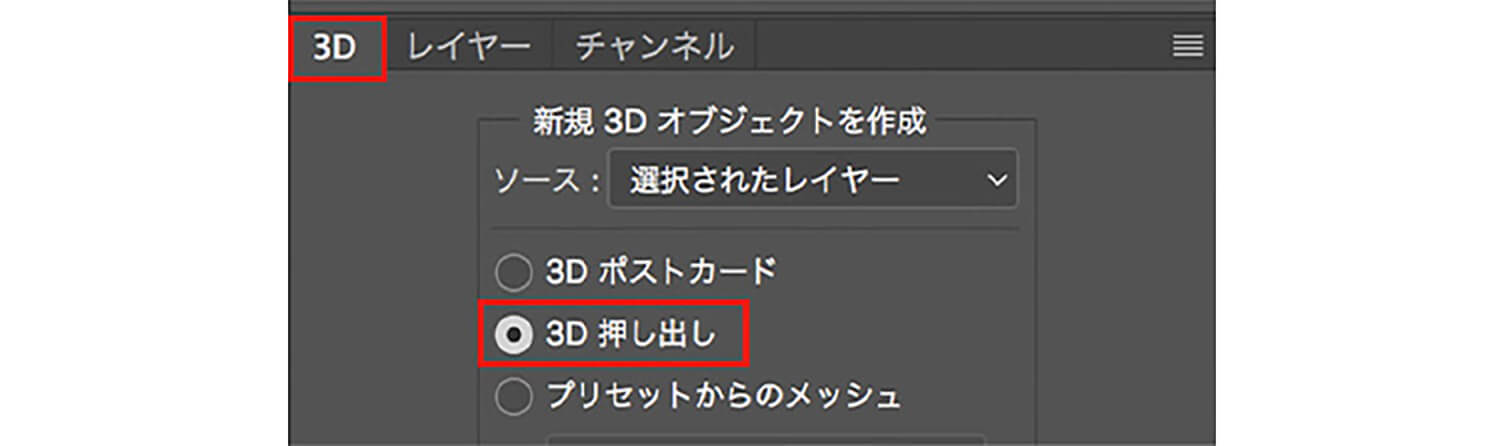
Select the object layer.
Click the 3D tab, check “3D Extrusion,” and press Create.
If an alert appears saying the path is too complex to create the object, try slightly increasing or decreasing the logo size. Surprisingly, this often resolves the issue.
Even though changing the size shouldn’t technically simplify the path, it worked in this case.
Once the object is successfully created, it should appear like this.

At this point, the “Extrusion Depth” property is set to 178px, so we changed it to 50px.
This reduces the thickness of the extruded logo.
The current data can already be used for 3D printing, but since the logo is standing vertically, it would be unstable during printing.
To make the object more stable, rotate the logo so it lies horizontally.
In the Properties panel, select the tab next to “Coordinates,” then set the middle X rotation angle to 90 degrees.
Convert the Data for 3D Printing

Click the icon under the 3D tab, or select “3D Print...” from the Window menu.

By pressing Export in this window, the 3D printer data can be created. The exported file extension will be “STL.”
“STL” stands for Standard Triangulated Language and is one of the file formats used to store three-dimensional shape data.
After that, simply load the data into a 3D printer and print it to complete the process.
In conclusion
What did you think?
Creating objects with the 3D extrusion feature was surprisingly simple.
Since the advent of 3D printers, creating mockups has become much easier, and even simple three-dimensional objects can now be produced beautifully without relying on a factory, making this a great era for DIY projects.
I still haven’t fully mastered using a 3D printer myself, so I’ll continue experimenting and learning...
If you feel hesitant about creating data with CAD software, I encourage you to try using Photoshop for a more advanced approach to 3D printing.
I hope you found this article helpful.
RECENT POSTS

Vol.203
What Is Design Management

Vol.202
Why Hiring No Longer Works— Redesigning Organizations and Decisions for an Uncertain Age

Vol.201
How to Choose a Branding Agency: 5 Criteria to Avoid Failure

Vol.200
Design Management: A Practical Guide for SMEs and Startups to Drive Real Results

Vol.199
How to Rebuild Brand Competitiveness: A Practical Guide to Brand Management for SMEs

Vol.198
From parent–child bonds to community: The future of education that nurtures diversity and designs relationships


