DESIGN
Vol.73

Y.T.
Introduction to Blender: 3DCG Creation Software


What Is Blender, Exactly?
Blender is an open-source 3DCG software.
Despite being free software, it has full-featured, versatile capabilities and is used worldwide as a 3DCG software.
In short, it's a multi-purpose software that can handle everything from modeling and animation to video editing.
Thanks to the crowdfunding platform Blender Cloud, it's wonderful that such a high-quality piece of software is offered to users free of charge.
What You Can Do with Blender
Here are its main features.
- Modeling
- Texture mapping
- Lighting
- Animation
- Motion tracking
- Simulation (physics)
- Node editing (materials, compositing)
- Script editing (Python)
- Video editing
- Rendering (encoding)
It brings together the best parts of well-known applications like Adobe After Effects, Premiere, Shade, and LightWave.
The interface is unique and the features are very robust—but the flip side is that there's a lot to learn.
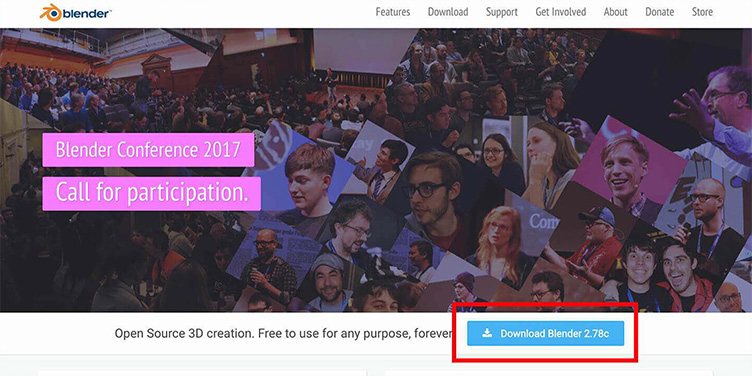
Downloading the Software
Download the software from the Blender site. Click the blue "Download Blender" button and download the version that matches the OS of the PC you're using.
Changing the Interface Display to Japanese
When you open the application, everything—including tool labels—is displayed in English. Since this can be hard to use, let's switch the display to Japanese.

Click "File" in the upper left, then click "User Preferences."

In the window that appears, click "System" and check "International Fonts."

Now you can choose a language—select "Japanese (日本語)."
Also select the translation buttons for "Interface" and "Tooltips."
The Tooltips button controls explanations shown when hovering over tools, so be sure to enable it.
*Be sure to click "Save User Settings" in the bottom left.

Now let's "Save Startup File."
This saves your settings so you don't have to configure them again the next time you open the file.
That covers the basic setup. How was it? Just switching to Japanese makes everything easier to understand. Next, we'll introduce how to create basic shapes.
Creating Basic Shapes

From the tab switcher on the left, select "Create." When you press the "Add Primitive" item, a shape appears on the screen.
Deleting an Object

Right-click on an object to select it.
From the menu below the object, choose "Delete."
*The shortcut "X" also deletes the object.
Moving an Object
Right-click to select, then press "G" (for "grab").
The object will then move freely with your mouse.
Click the mouse at the position you like to place the object there.
Saving Your Work

From the File menu, select "Save As." Set a name and destination, then save it under a different name.
The Blender data will then be saved to the folder you specified.
Closing Thoughts
How was that?
This time, we introduced the settings you need when getting started with Blender.
Next time, we hope to introduce how to create specific shapes.
There's still a lot we don't know, but Blender packs in this much functionality as free software.
We'd love to become fluent in using it.
We hope this article serves as a useful reference for 3D modeling.
Reference book: Ryuichi Osawa, Gijutsu-Hyohron Co., Ltd. Free to Start with Blender: CG Illustration Techniques
RECENT POSTS

Vol.203
What Is Design Management

Vol.202
Why Hiring No Longer Works— Redesigning Organizations and Decisions for an Uncertain Age

Vol.201
How to Choose a Branding Agency: 5 Criteria to Avoid Failure

Vol.200
Design Management: A Practical Guide for SMEs and Startups to Drive Real Results

Vol.199
How to Rebuild Brand Competitiveness: A Practical Guide to Brand Management for SMEs

Vol.198
From parent–child bonds to community: The future of education that nurtures diversity and designs relationships


