TECH
Vol.57

Engineer
Y.M.
Installing Ubuntu MATE on a Raspberry Pi


Assembly
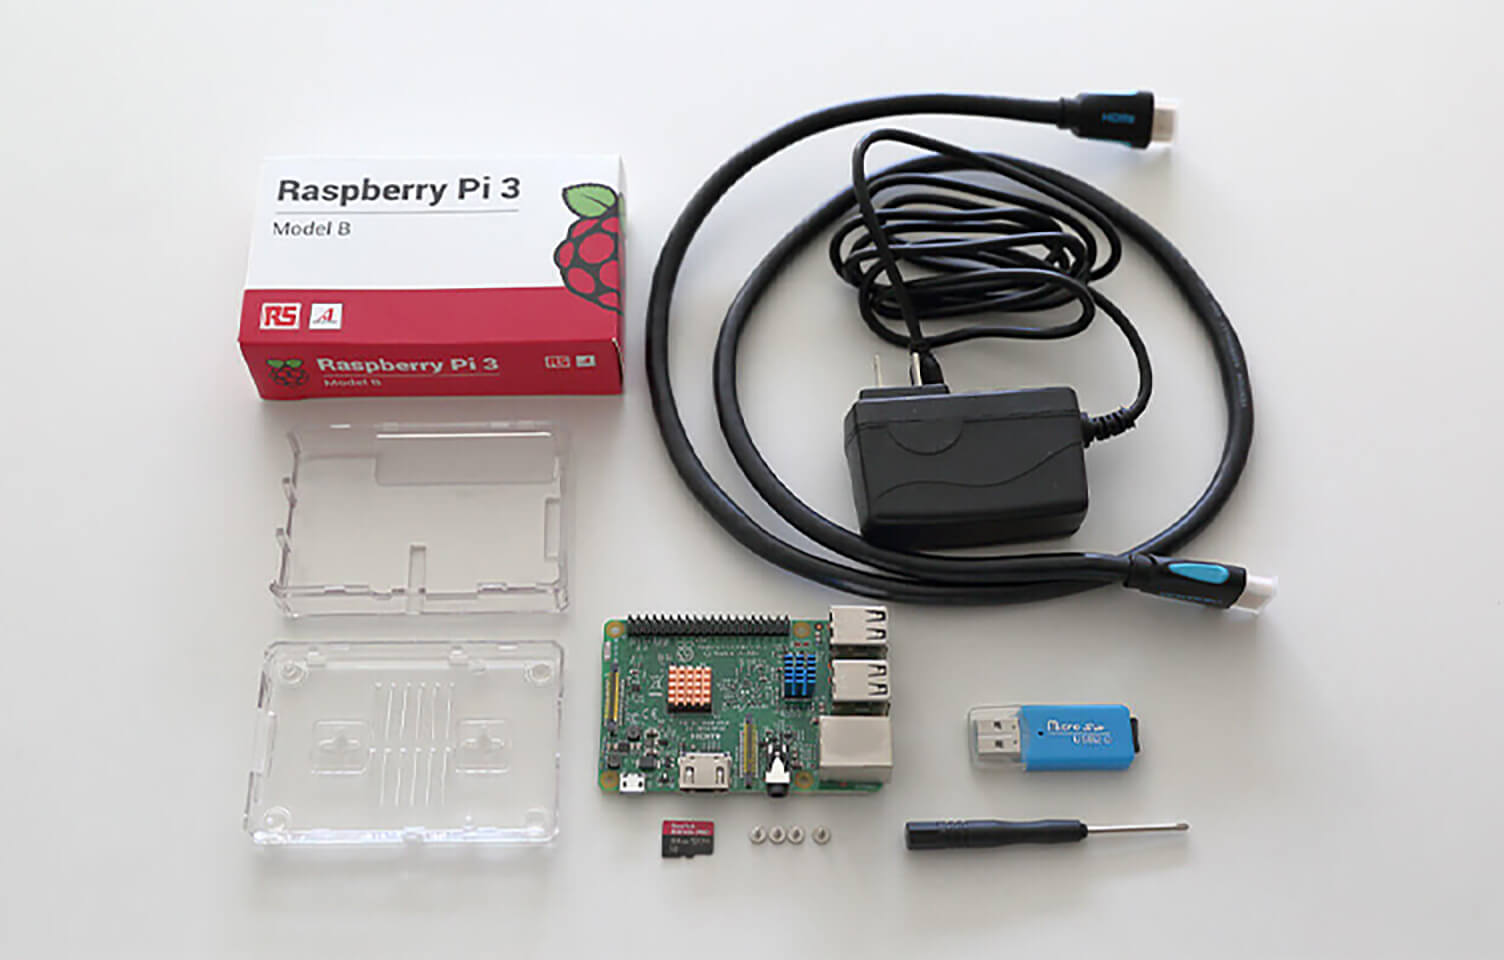
This time, I’m using a kit called the “Raspberry Pi Kit for DUMMIES.”
The main unit is a Raspberry Pi 3.
By the way, “for DUMMIES” roughly means “easy enough for anyone to understand.”
Taking that positively, I decided to go ahead and assemble it with confidence.
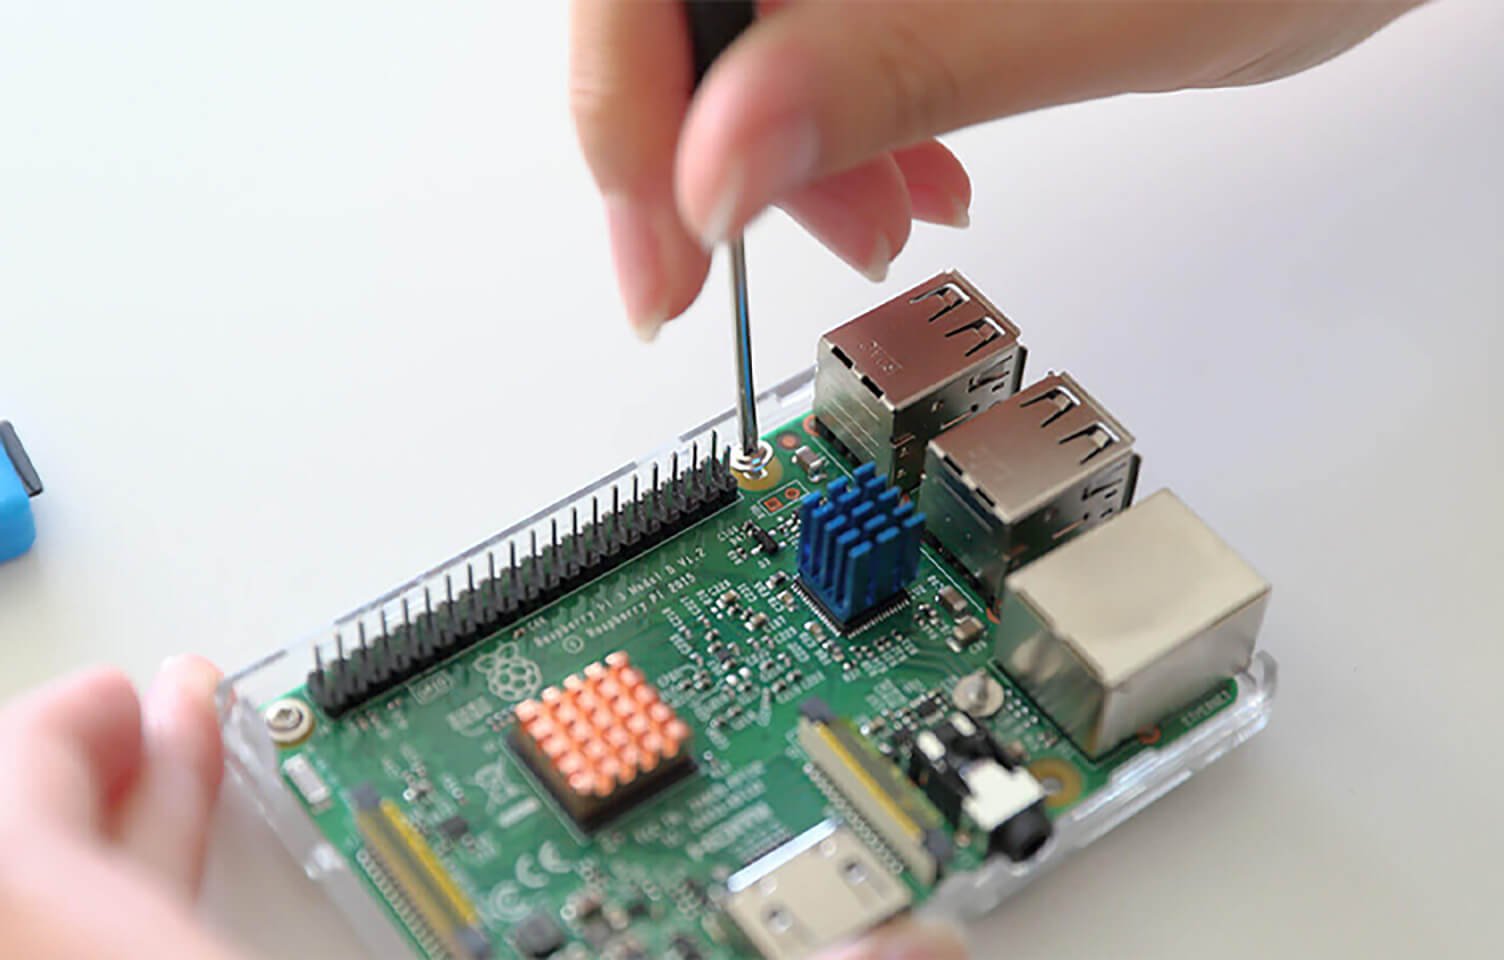
Although it is called “assembly,” there are no particularly difficult steps involved. Simply place the board into the included case, attach the heatsinks, secure the four corners with screws, and attach the anti-slip pads to the bottom of the case.
The main board supports the following connections:
USB 2.0 Ports × 4
LAN 10/100 Mbps Ethernet
HDMI Port
3.5 mm Jack
MicroSD
USB Micro B (Power Supply)
In addition to these (and perhaps the most important feature), there is also a 40-pin GPIO header — the pin array that looks like a bed of needles on the board. However, since this article focuses only on installing the OS, we will not cover it here.
Also, starting from the Raspberry Pi 3, wireless LAN and Bluetooth are built in.
Installing Linux
At first, I was a little skeptical that such a small unit could actually run an operating system, but since Linux could apparently be installed on it, I decided to give it a try.
After doing some research, I found many articles recommending Ubuntu MATE for Raspberry Pi.
I wondered why Ubuntu MATE was so commonly used, and it turns out one major reason is that it provides installation images specifically for Raspberry Pi.
Since I mainly wanted a quick and easy way to run an OS with a GUI, I decided to install it right away.
There is also an OS called “Raspbian” designed specifically for Raspberry Pi, and that is probably the standard choice, but I decided to try Ubuntu first.
First, download the installation image from the official website.
When selecting “Ubuntu MATE 16.04.1 LTS,” you will see a “Raspberry Pi” option on the right side — select that option.
Several download methods are available, but I used “Via Direct Download.”
There are multiple download servers available, though depending on the server location, the download may take some time.
Once the download is complete, proceed with the installation.
The general workflow was based on the following reference site.
Writing a Raspberry Pi OS to an SD Card
Since this TIPS article was written based on installation using a Mac, it mainly focuses on the differences from the reference site and the issues I personally encountered.
The installation process is mostly performed using the Terminal. Even tasks such as unmounting devices, which are usually done casually through the GUI, are handled with commands here.
Open Terminal and first extract the downloaded image file. The file format is “xz,” so if you do not already have the “xz” utility installed, install it using Homebrew.
$ brew install xz
*If Homebrew does not work due to errors, please refer to the following TIPS article, which explains how to repair it.
vol.55 Important Points to Keep in Mind When Installing the Popular Framework Laravel on Mac
Next, extract the xz file.
The following command assumes you have moved to the download directory using the cd command. Adjust the directory as needed.
$ unxz ubuntu-mate-16.04-desktop-armhf-raspberry-pi.img.xz
Next, write the extracted image to the MicroSD card. There is one important point here:
• Unmount the device using Terminal commands
This may have been due to the order of operations, but unmounting the device through Finder by right-clicking and selecting “Eject Disk” did not work properly for me.
Therefore, I followed the method introduced in the reference article.
Another thing that initially confused me was identifying the drive path.
Even after trying to locate it through the Volumes directory, I couldn’t find the correct path and wondered where it actually was.
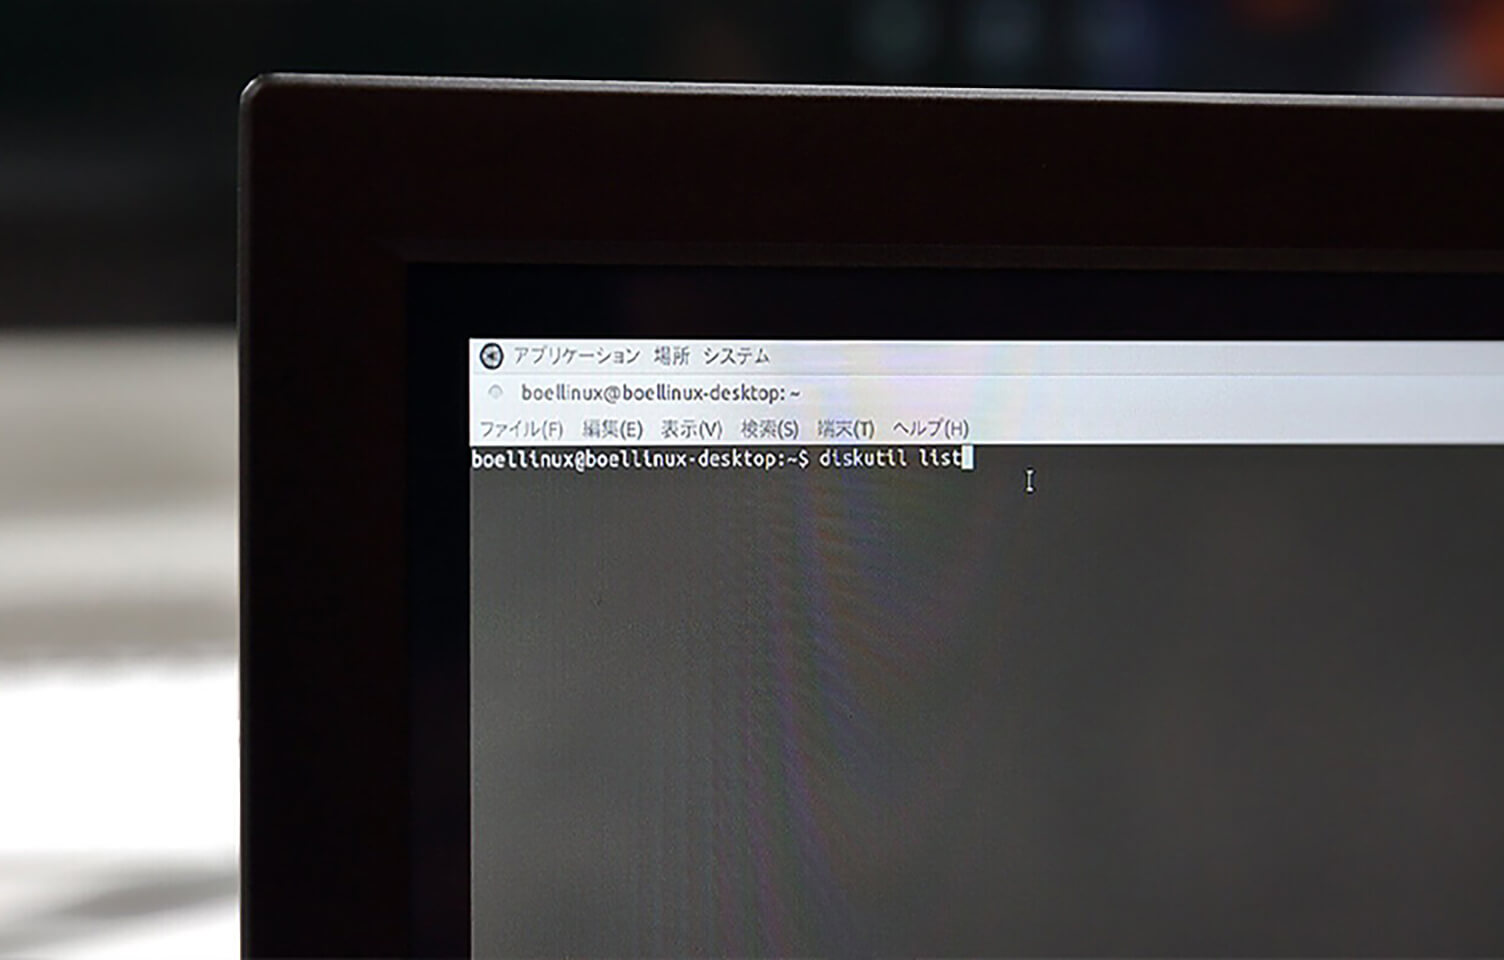
To solve this, use the command called diskutil.
$ diskutil list
Running this command displays a list of disk partitions.
The disks are listed in the following format:
/dev/disk◯
Since I was using a 16GB MicroSD card, I identified the correct disk from the list.
Unmount the device using the command line (assuming the SD card path is disk4).
$ sudo diskutil umount /dev/disk4
Next, use the following command to write the image to the MicroSD card.
Writing a Raspberry Pi OS Image on Mac OS X

Once the writing process is complete, try booting it up.
Booting It Up
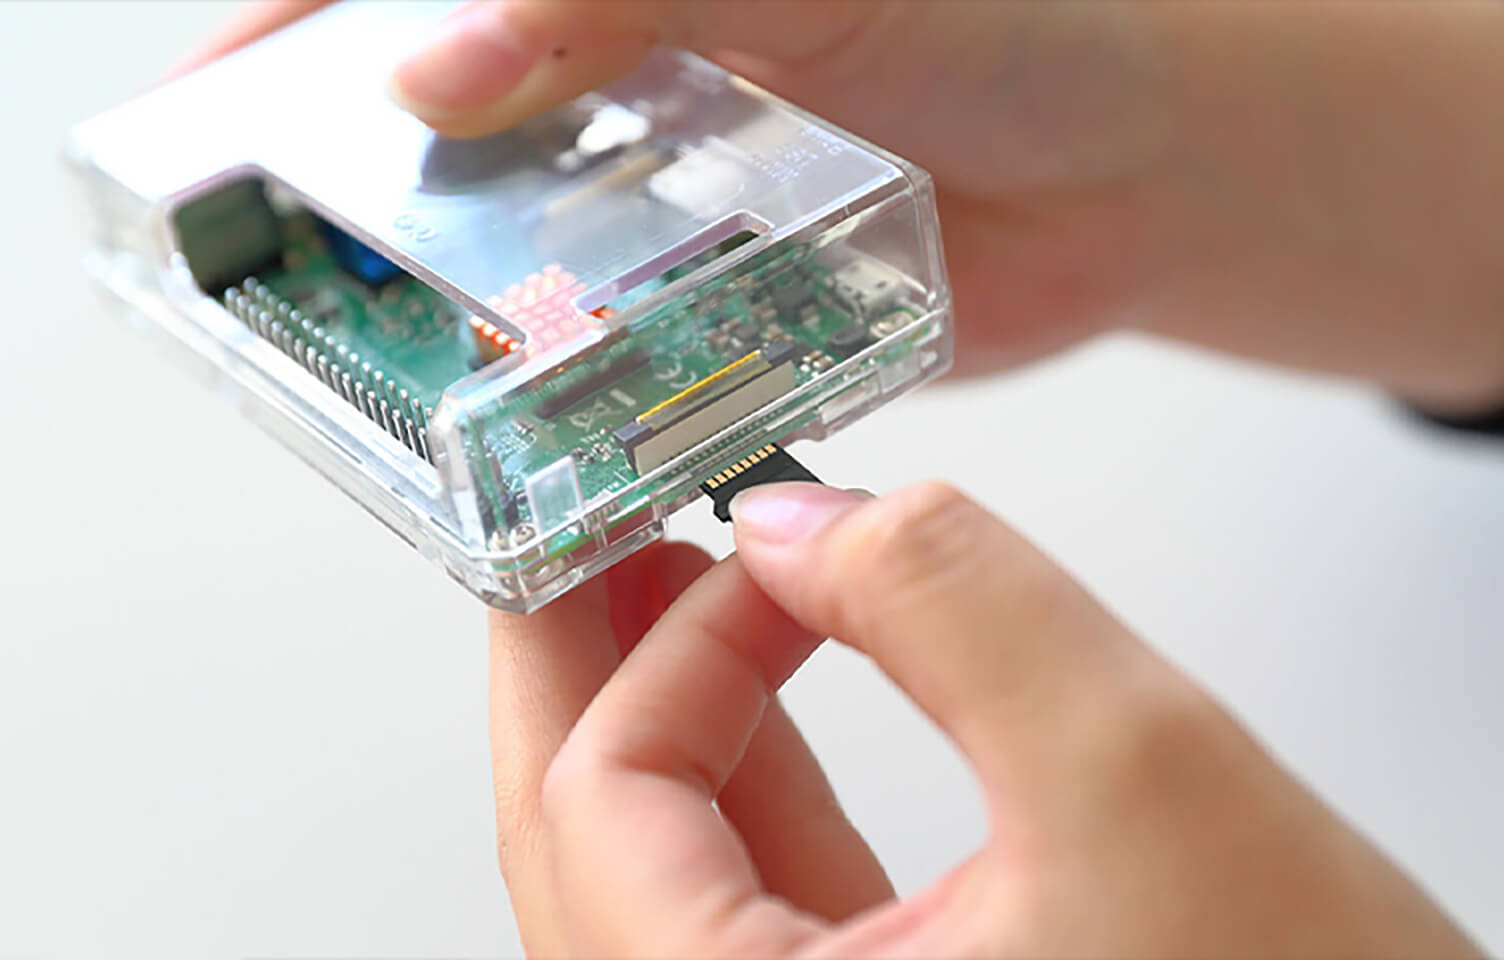
There is no power switch — the Raspberry Pi turns on as soon as it is plugged into a power source.
Before powering it on, insert the MicroSD card into the MicroSD slot.
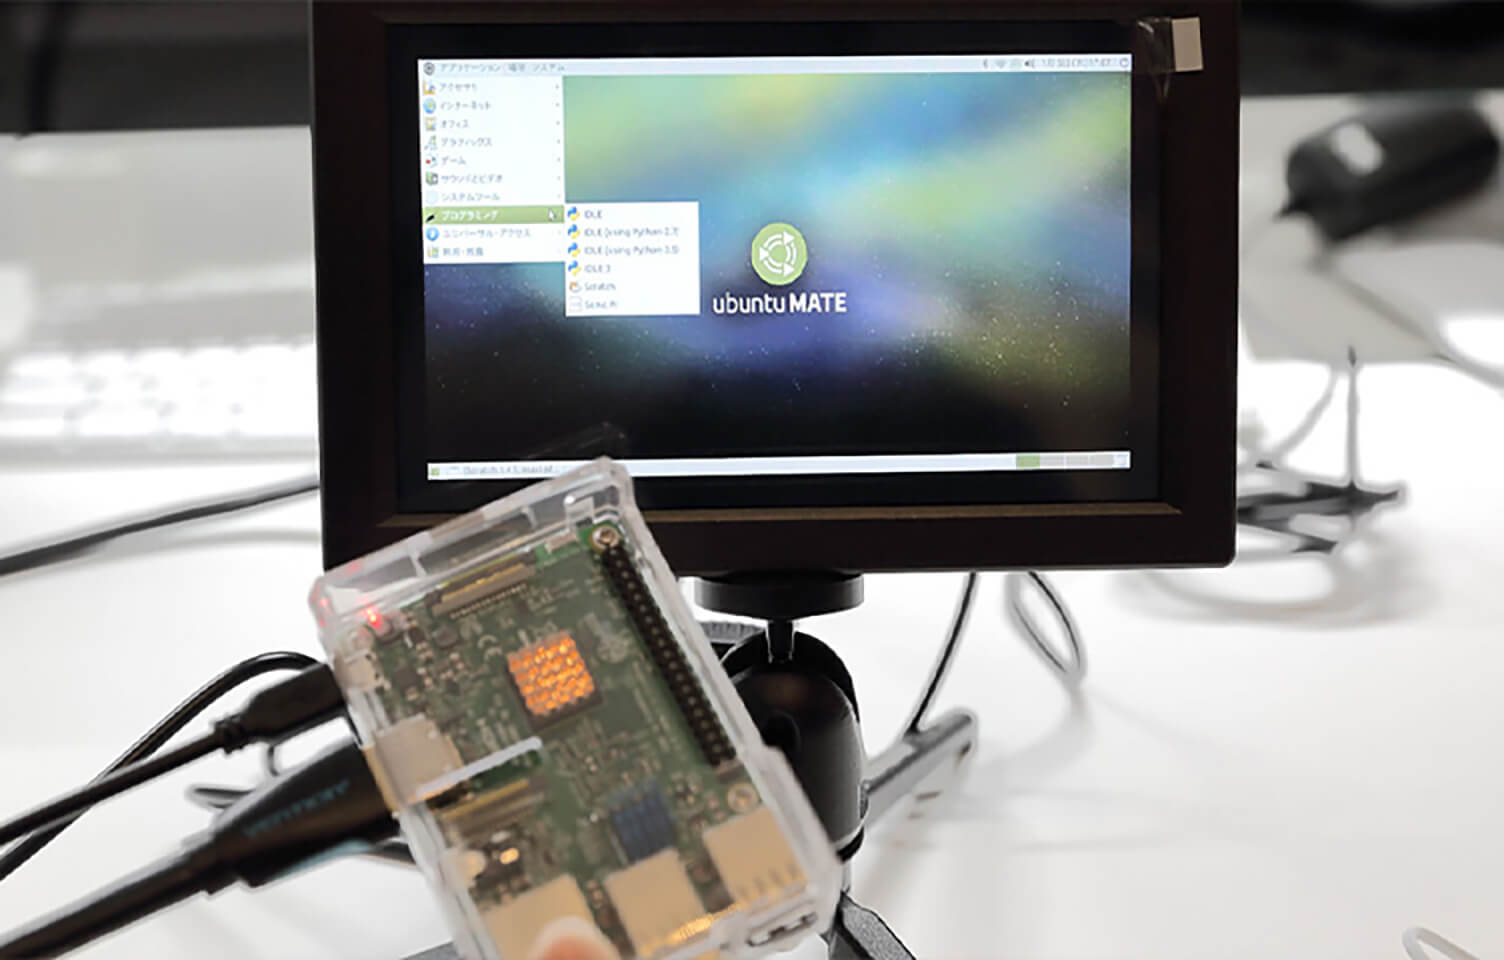
Insert the SD card and connect a monitor via the HDMI port.
Once all cables are connected, finally connect the AC adapter to the Micro USB port and plug it into an electrical outlet.
After waiting for a short while, the system should boot up.
Complete the initial setup, install apt-get if necessary, and update the OS to the latest version to finish the setup process.
Trying It Out
While using the system, a few errors appeared from time to time, but they did not cause freezes or unstable behavior, and overall the system operated normally.
If I had to point out one issue, it would be that Japanese input did not work properly when using a Mac keyboard.
To support Japanese input, I installed Mozc (Google Japanese Input).
However, I still cannot say it is working perfectly, so this will require a bit more investigation.
Summary and Future Plans
This time, I tried installing Linux on a Raspberry Pi.
Ultimately, there have been discussions within the company about turning it into an AI-powered robot, but it seems like there is still a long road ahead.
Next time, I would like to go beyond software and try building something more robot-like through hands-on hardware work.
For that, we’ll need to gather parts and tools for assembly.
Depending on how you use it, the Raspberry Pi has the potential to create all kinds of projects.
Its price is extremely affordable, and honestly, it’s amazing that you can use and even build with a computer at this cost.
It’s also a great learning experience, so why not give it a try yourself and experiment with it?
RECENT POSTS

Vol.203
What Is Design Management

Vol.202
Why Hiring No Longer Works— Redesigning Organizations and Decisions for an Uncertain Age

Vol.201
How to Choose a Branding Agency: 5 Criteria to Avoid Failure

Vol.200
Design Management: A Practical Guide for SMEs and Startups to Drive Real Results

Vol.199
How to Rebuild Brand Competitiveness: A Practical Guide to Brand Management for SMEs

Vol.198
From parent–child bonds to community: The future of education that nurtures diversity and designs relationships


MORE FOR YOU

What Is Design Management
2026.04.28
Why Hiring No Longer Works— Redesigning Organizations and Decisions for an Uncertain Age
2026.04.27
How to Choose a Branding Agency: 5 Criteria to Avoid Failure
2026.04.24
Design Management: A Practical Guide for SMEs and Startups to Drive Real Results
2026.04.27
How to Rebuild Brand Competitiveness: A Practical Guide to Brand Management for SMEs
2026.04.24
From parent–child bonds to community: The future of education that nurtures diversity and designs relationships
2025.12.19
Exploring the future of environmental design integrating vision, diversity, and a future-oriented perspective
2025.12.09