TECH
Vol.48

Designer
L.S.
If you are starting listing advertisements, Google AdWords is a great place to begin
INDEX
About Listing Ads
What is Google AdWords?
Google AdWords Account Creation
Running Ads <Creating a Campaign>
Creating the ad group and ad content
Useful Feature: “Keyword Planner”
Summary


About Listing Ads
Have you ever heard the term “listing ads”?
These are advertisements that appear in relation to specific keywords when users search on search engines such as Yahoo! or :contentReference[oaicite:0]{index=0}.
They are the text ads or banner ads labeled “Ad” that appear at the top or on the side of search results pages.

As internet access has become widespread and web browsing has become standard around the world, more companies are building their businesses primarily through the internet.
Because of this, the number of people interested in starting or using listing ads has likely been increasing year by year.
What is Google AdWords?
Google AdWords is a service that allows advertisements closely related to search keywords to appear on :contentReference[oaicite:0]{index=0} result pages.
Advertisements for an advertiser’s website, content, or products are displayed based on keywords specified by the advertiser, making it possible to target users who are actively searching for related services or products.
In addition, advertising costs are only incurred when users actually click on the ad text or banner.
Simply appearing in search results does not generate any charges.
Because ads can appear near the top of search results and budgets can be controlled by the advertiser, Google AdWords is widely used in many business situations as a highly visible and cost-effective advertising service.
The following topics will be introduced next:
1. Creating a Google AdWords account
2. Creating a campaign
3. Creating ad groups and advertisement content
4. A useful feature: Keyword Planner
*This article is based on information available as of June 3, 2016.
Google AdWords Account Creation
- Preparation
To start using :contentReference[oaicite:0]{index=0}, you will need a Google account.
Create a Google account in advance if you do not already have one.
You may create a dedicated account specifically for Google Ads, or you can use your existing Google account. - Sign Up
Click “Start now” on the Google Ads page.
Google Ads - Enter Account Information
If you want to create an account using an email address that is not already associated with a Google account, select [I do not use other Google services], enter the email address and password you wish to use, type the characters shown in the image, and click [Create account].

1. Enter your Google account email address and password, then click “Next.”
2. Select “Japan” for Country/Region, “(GMT+9:00) Tokyo” for Time Zone, and “Japanese Yen (JPY)” for Currency, then click “Continue.”
3. Click “Log in to your AdWords account.”
Once your AdWords account has been created, Google will send a confirmation email to your registered address.
*If you do not receive the email, the email address may have been entered incorrectly.
If you created an AdWords account using an email address different from your Google account email, you will need to verify the address by clicking the URL in the email from Google, so please follow the on-screen instructions.
- Enter Payment Information
After creating your account and logging in to AdWords, click the gear icon in the upper-right corner labeled “Settings,” then select “Billing” to configure your payment information.

You cannot switch from prepaid to postpaid billing, or from postpaid to prepaid billing.
(If you absolutely need to change it, you must first cancel your account.)
- Prepaid Billing
Advertising fees are deducted from the balance you pay in advance.
(Regardless of the payment method, ads will automatically stop running if your account balance becomes insufficient.)
If you choose bank transfer or convenience store payment, it may take 1–3 business days for the payment to be confirmed.
If you want your ads to start immediately, credit card payment is recommended. - Postpaid Billing
You are billed after advertising costs are incurred.
*Charges themselves occur each time an ad is clicked.
Only credit card payment is available for postpaid billing.
If you want to launch ads immediately, you can do so with postpaid billing as well.
Billing occurs either 30 days later or when your account reaches its billing threshold, whichever comes first.
Running Ads <Creating a Campaign>
Next, we will create the actual advertisements to run. The general flow for creating ads is as follows:
1. Create a campaign
2. Create an ad group
3. Create the ad content
4. Launch the advertisement
Create your “campaigns” and “ad groups” to match the structure of your website.
For example, the campaign names can correspond to the names used in your website’s global navigation menu, while ad groups can represent categories within those sections.
This time, we will create the most familiar type of ad: a “text ad.”
- Create a campaign
- Click the Campaigns tab at the top

The tabs will appear as shown below. Click the Campaigns tab.

- Click the red “+ Campaign” button below the tab
- Click the Campaigns tab at the top
Select “Search Network (with Display Network select)” as the campaign type.
At this point, whichever campaign type you choose can still be changed again on the next screen.

- Campaign settings
Enter the following items. - Campaign name
Set a name that is easy for you to understand.
When you create more campaigns later, it will be easier to identify which campaign corresponds to which advertisement. - Type
This time, select “Search Network (with Display Network select).”

- Location
Choose the regions where your ads will or will not appear.
Example: If your service is only available in the Tokyo metropolitan area, you can configure the ads not to appear in other regions. - Target language
Select Japanese.
Example: If you want to advertise to people in Japan, select Japanese. If you want to target English-speaking tourists in Japan, select English. - Bidding strategy
Select “Manual CPC” so you can adjust the maximum cost-per-click yourself. - Default bid
Set the maximum amount you are willing to pay per click when your ad is clicked. - Budget
Set the daily advertising budget.
A monthly budget cannot be set directly. Calculate your approximate monthly budget by multiplying the daily budget by 30, then decide on your daily budget. - Ad extensions
Choose whether to configure additional options depending on the advertisement content or services offered.
After entering the above information, click “Save and continue.” This completes the campaign setup.
Creating the ad group and ad content
Next, create the “Ad Group” and the “Ad Content.”
- Ad group name
- Ad headline, ad text 1 & 2, display URL, final page URL
The display URL is the URL shown together with the ad when it appears, while the final page URL is the URL of the page users are directed to after clicking the ad. These two URLs can be set differently.

- Keywords
When the keywords you set are searched, your ad will be displayed. Keywords are usually set as a combination of 2–3 words treated as a single keyword.
Even for your initial setup, you should prepare around 10–20 keywords.
When setting keywords, you can also configure a “match type.”
Match type determines how closely the searched keywords must match your configured keywords in order for the ad to appear. - Broad Match (default setting, no special configuration required)
The ad may appear even if the configured keyword does not exactly match the search keyword. Choose this option when you want to show ads to a wider audience. - Exact Match (enclose the keyword in half-width brackets [ ]: Example [BOEL website production])
The ad will only appear when the configured keyword exactly matches the search keyword. This allows you to target users more precisely. - Phrase Match (enclose the keyword in half-width quotation marks " ": Example "BOEL website production")
If the order of words in the configured keyword matches the search keyword, the ad may still appear even if additional words are included in the search query.
After entering the above items, click “Save Ad Group.”
This completes the ad group setup.
When you return to the Campaign tab, the campaign name you configured will appear under “All Campaigns” in the left menu.
If the campaign status is set to “Enabled,” the ad will be delivered. You can also choose “Pause” or “Delete” as needed.

Useful Feature: “Keyword Planner”
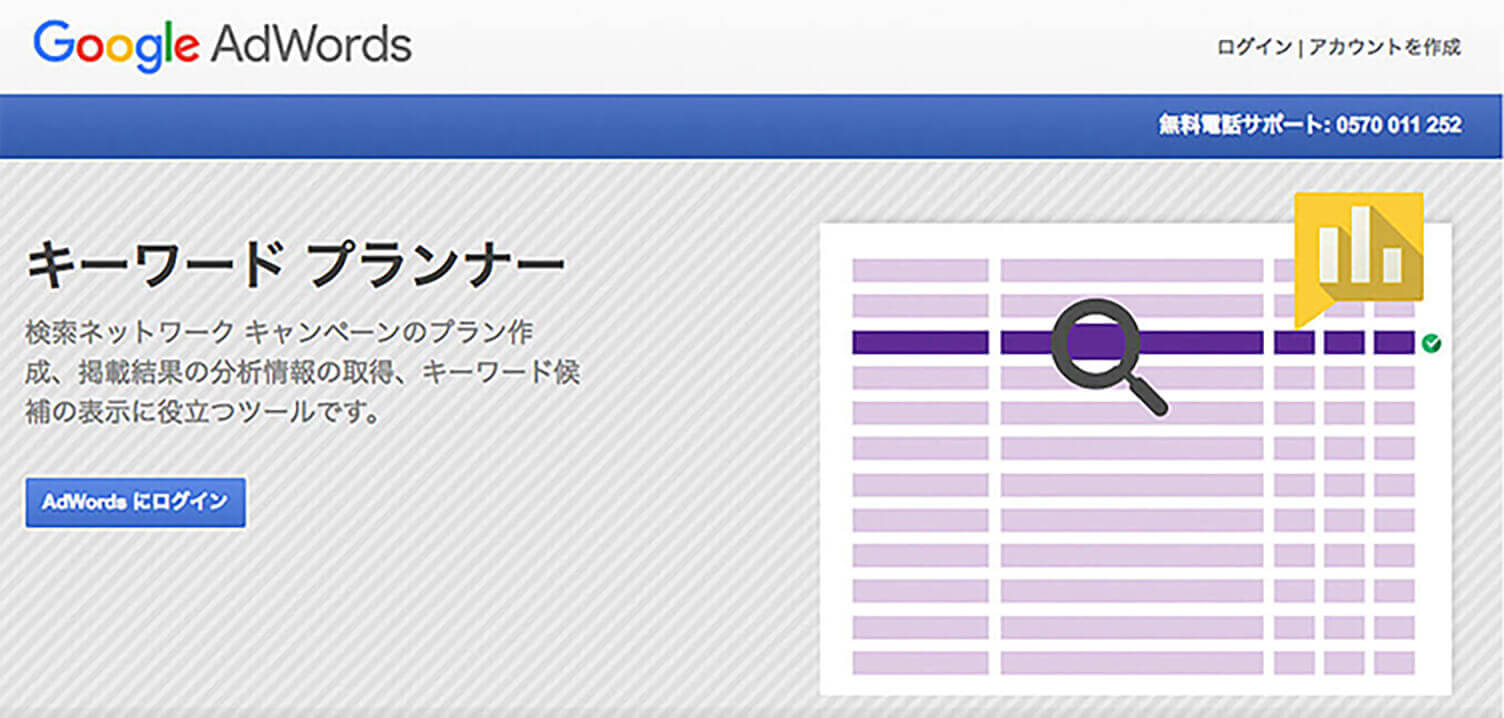
A free tool that is useful when creating new keywords or ad groups, or when expanding existing campaigns.
It can also be accessed from the “Tools” tab in Google Ads.
Google Ads
You can search for new keywords and obtain keyword suggestions, as well as generate ad group ideas.
It also displays estimated bid prices, competition levels, and search volume, making it helpful when creating new ads or improving the quality of existing campaigns.
Keywords and ad groups searched in Keyword Planner can be downloaded in CSV format.
Summary
What did you think?
In this article, we introduced the minimum essentials needed to start advertising with Google Ads.
One of the biggest advantages for beginners is that “you are only charged when someone clicks on your ad,” making it easy to get started.
Google Ads offers many more features beyond what was covered here. There are so many useful functions available that, to be honest, I am still learning how to make full use of them myself every day.
I hope this article helps you when launching advertisements with Google Ads.
RECENT POSTS

Vol.204
Brand experience: Reconnecting a company's current reality with society

Vol.203
What Is Design Management

Vol.202
Why Hiring No Longer Works— Redesigning Organizations and Decisions for an Uncertain Age

Vol.201
How to Choose a Branding Agency: 5 Criteria to Avoid Failure

Vol.200
Design Management: A Practical Guide for SMEs and Startups to Drive Real Results

Vol.199
How to Rebuild Brand Competitiveness: A Practical Guide to Brand Management for SMEs


